
Well wrap it into a ring!

Materials required:
- One bead, or pearl or button
- Beading wire - really thin to ensure it fits into the hole of the bead and because thick wire requires Popeye finger and arms which I do not have
- Needle nose pliers
- Cutting pliers
- Ruler
- Chapstick or lipstick tube


Time to rock and roll!!!!
Step one:
Cut 24 inches of the wire and thread the bead to the center of the wire.
Step two: Making the band of the ring.
Center the bead on the tube of lipstick or chapstick and wrap both ends of the wire twice around the tube.

Step three: Time to secure the bead onto the ring.
Grab both ends of the wire and wrap it a couple of times around the base of the bead.


Step four: Time to pretty-fy the band of the wring!
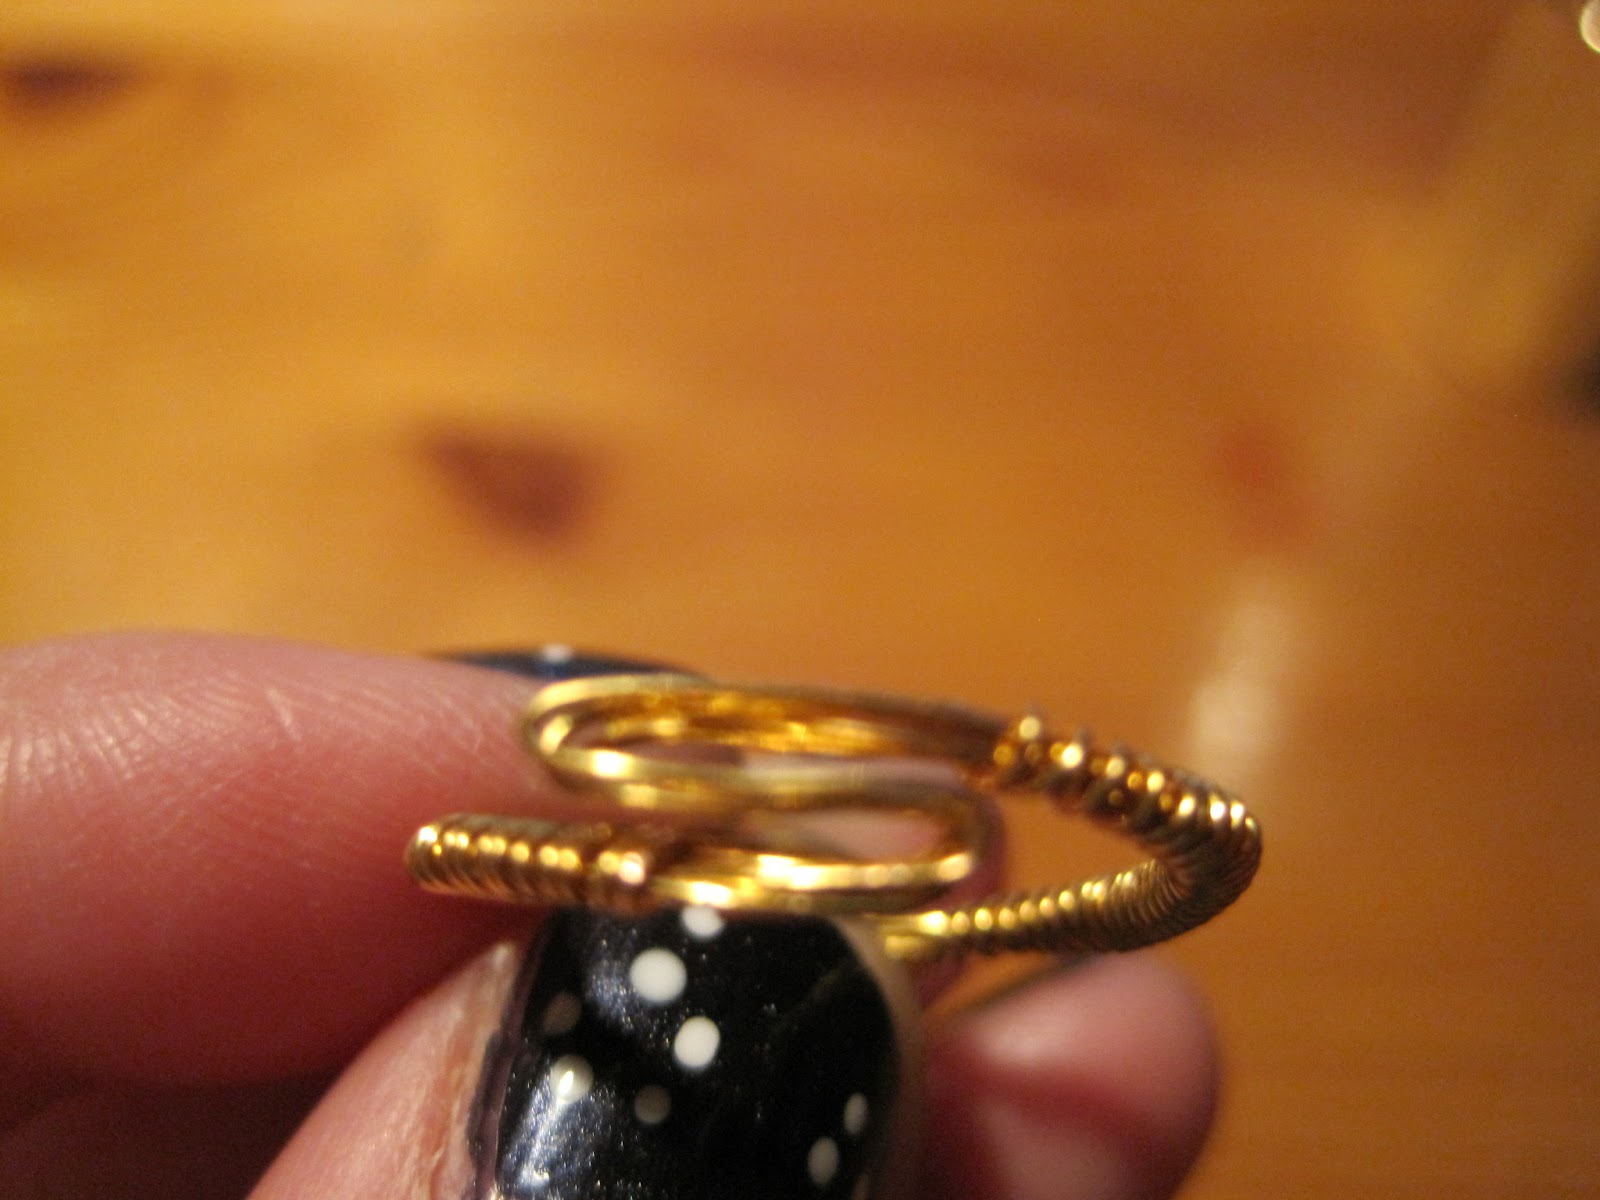
Wrap (coil) either side of the band with the long remaining wire you have until you run out or leaving a 2 cm gap at the end to create an ADJUSTABLE RING!!!! After cutting the remaining wire use the needle nose pliers to really coil the tid bit of wire to prevent dangerous jagged edges hanging around.


Step five: How to make it adjustable and adjusting the ring.
Leaving a wider Z shape makes it winder and closing the Z gaps makes it smaller.


TA DA!!!! Now you've created a baller looking-ish ring but really it was like 49 cents.

No comments:
Post a Comment