Sunday, March 3, 2013

Reusable cup means reusable sleeve

Last week I picked up a reusable cup from Starbucks and on the drive home I started thinking ... a reusable cup must have a reusable sleeve as its companion! I got really excited like REALLY excited.

Then ... this is what happened!!!


I showed that photo to someone and they said "it is a fab commodity" sure it might be over the top but it was made out of scrap fabric and will replace many cardboard sleeves.

What you will need:
- needle and thread or a sewing machine
- pins
- one cardboard sleeve as a blueprint
- some scrap fabric

Step One: Cutting the fabric

There are 2 ways.

The first way is keeping the tracing sleeve intact and folding the fabric in half and cutting from the fold (done with the sequin fabric). The second way is to break the sleeve apart and trace it flat on the fabric (with the tan fabric).

Either way, ensure to cut the height of the sleeve at least 1cm larger at the top and bottom than the actual cardboard sleeve to allow some slack for sewing.


Step Two: Folding over and time to sew 

Fold over the top and bottom of the fabric about 1cm in and pin it all down in preparation for sewing.

Using the sewing machine, a straight stitch and if done by hand a simple up and down stitch. Once the top and bottom edges are sewn down its time to enclose the sleeve. Grab both ends of the open sleeve and sew it together and VIOLA! a reusable sleeve for your beverage!


Put a Cork in It!

Poppin' bottles all night!!!

Instead of throwing away the corks after partying like a rock star have you ever thought of putting them into good use?


There is an abundance of uses for bottle corks but many of the ones I have come across are of decorative purposes or you need to be an alcoholic to have that many corks to make a decent project.

One evening with a few girl friends around a bottle of bubbly I started asking for ideas and this is what happened. STAMP!!!! and CARDHOLDER ... a 2 in 1!!! OMG!!!!

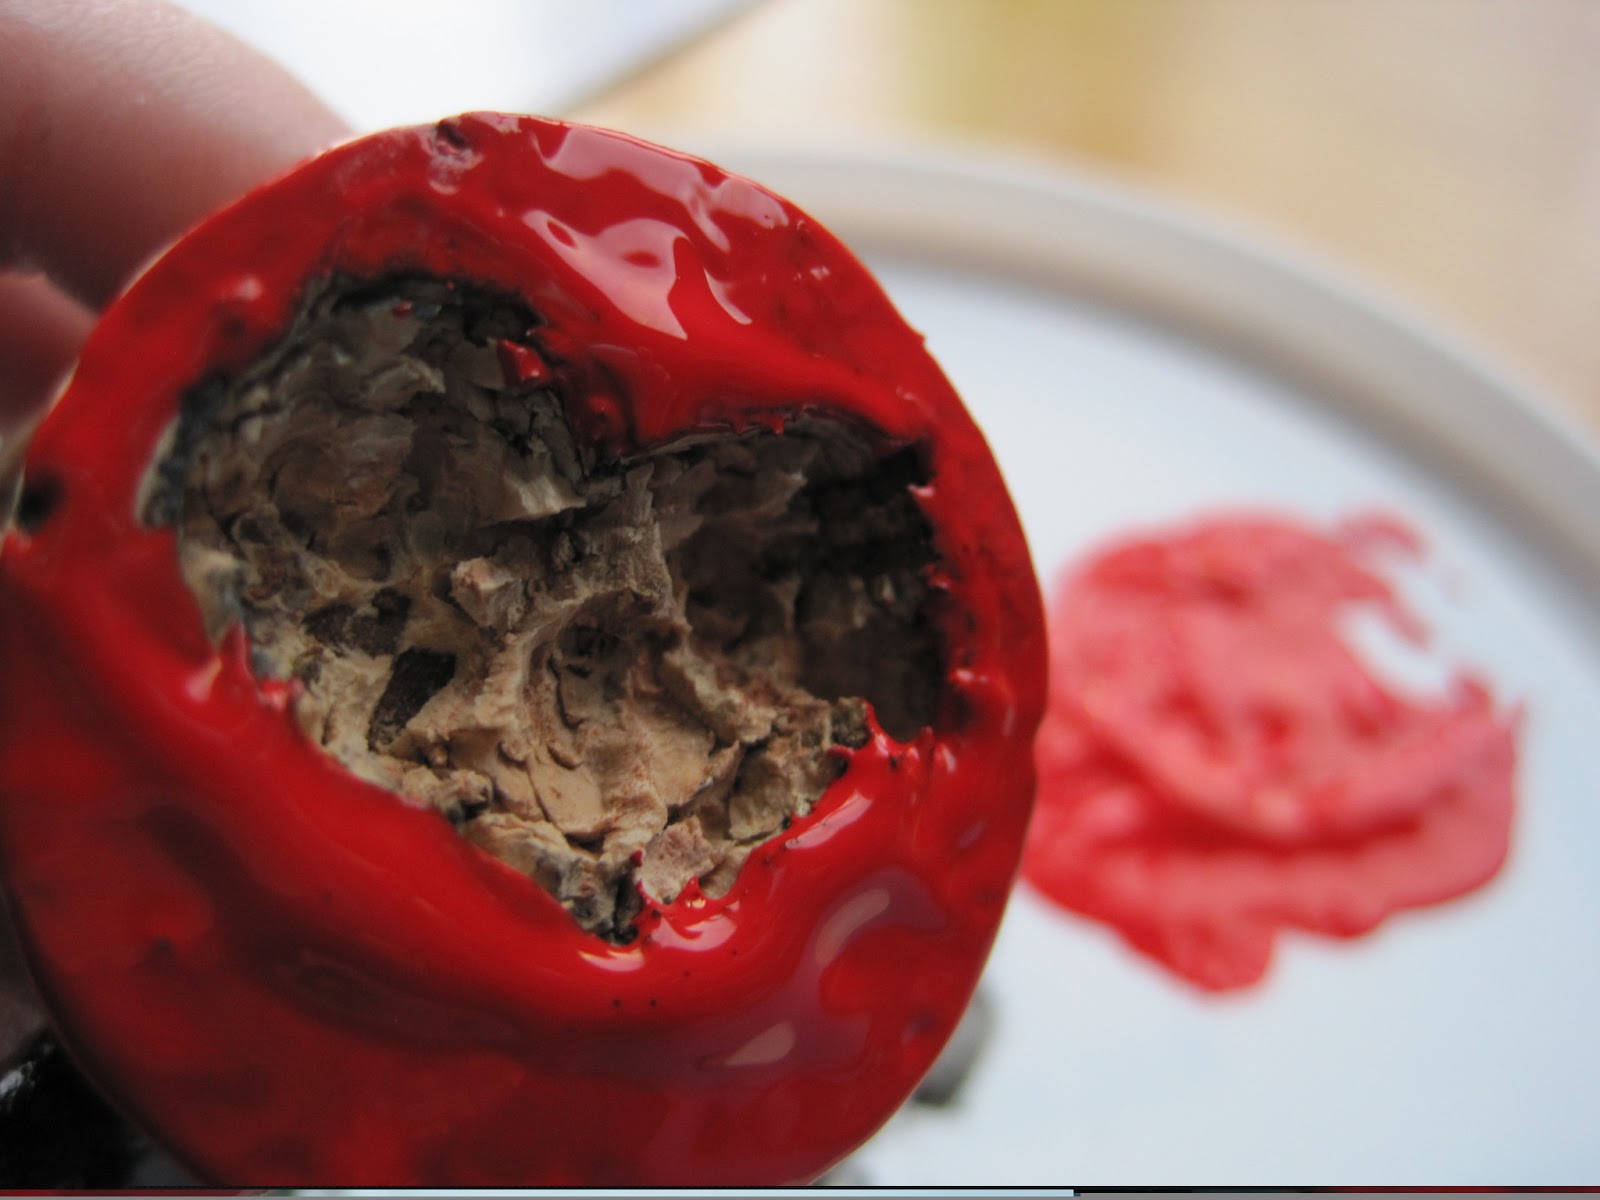
Before starting this task I did not know how difficult it was to carve cork. It was a heap of crumbly mess, so you have been warned!

This is what I ended up making!


What you will need:
- cork(s)
- pen/ marker 
- wood carving tools (purchased from Micheal's Craft store, or an Exact o knife, shank or sharp object of some sort to chip at the cork)
- clear nail polish

Instruction:
Using the pen or marker trace out a design and then chip away at it!!! Once you are done chipping away use the clear nail polish to paint around the design. The purpose of the nail polish is to prevent the cork from soaking up all the paint.

I cut a little slit on top of the cork to create space for a photo or card.  If you have tons and tons of corks it can be turned into seating card holders and can double up as a little memento stamp.


Saturday, February 23, 2013

Popsicle Sticks

The crafting possibilities of Popsicle sticks are endless. I am sure many of you have used them at least once in your school days. But now that you are older and wiser the functionality of Popsicle sticks should no longer just be limited to color markers, white glue and construction paper.

A while back I was at a beauty supply store and saw a pack of 50 Popsicle sticks for $2.00. Obviously they were used for another purpose, waxing. Better for me to craft with because they are wider than regular Popsicle sticks. So in my mind I will buy them and I'm sure a functional, usable crafty idea will come.

Sure enough, during the holidays I potted small tropical plants into Mason jars as Christmas gifts. Instead of attaching cards to all the Mason jars I wrote on the Popsicle sticks and stuck them into the dirt.

Now armed with 30 Popsicle sticks left. More ideas must flow to use them up! BOOK MARKS!!!

What you will need: 
- Popsicle sticks
- acrylic paint (most dollar stores sale these for cheap now - I buy black, white and the primary colors - red yellow and blue to mix colors of my own)
- paint brushes


And you can always stick it to them when they are disturbing you!


Saturday, February 16, 2013

Morse Code

Nail art idea!!! Hidden messages YES and it looks tribal but not!!!


Colors used:
OPI - That's Hot Pink! (base)
China Glaze - For Audrey (dots)
Color Club - Aqua (dashes)

Monday, February 11, 2013

Being a Sweetheart

Why spend money buying generic packaging to put sugar in for your Valentine, when you can make them yourself for pennies!!! Because 96.4% of the time the packaging is ditched anyways (totally random statistic by the way).


The following tutorial is very minimalistic using only one piece of paper, sharpie pen, candies and a needle and thread. A computer, printer and sewing machine can be used in place as well. This tutorial can be personalized and fancied up with doilies, stickers, bling and pizzazz to your liking.

This idea can be extended to party favors including birthdays and weddings by simply changing the shape of the paper and message.

Step one: 
Grab a Valentine colored piece of paper and cut two identical shaped hearts. On one heart write your message. 


Step two: 
Using a thread and needle or sewing machine start sewing the two hearts together. Keep on sewing until you have about an inch left.


Step three: 
Write a message to your lover or your phone number and fold the message to ensure it is thick enough that it won't rip if the person decides to open it ungracefully. OMG ITS LIKE A FORTUNE COOKIE!!! Stick the message in the one inch gap along with the treats! OMG ITS LIKE A FORTUNE COOKIE WITH CANDIES!!!


NOM NOM NOM NOM!!!!


Thursday, February 7, 2013

Camo is sick

Camo is sick says a boy.

I have a Pony Palm plant growing on my desk at work for the past two years, it is so over grown that I have nick named it The Congo. So after a year I finally did it, I went and got a bag full of little green plastic army men and hid them among the bushes for recon missions.

With that wonderful idea my men needed to be incognito ... camouflaged. What a nail polish fanatic to do but obviously camo him out with nail polish of course! ... one idea lead to another ... Why don't we play matchy matchy with my men and camouflage my nails too! I'm gonna have me some fun.


What you will need: 
- CD palate
- dotting tools
- tons of greens, browns and black for green camouflage - forest
- tons of white, greys and black for white camouflage - snow
Optional - Essie Matte About You (cus c'mon ladies we ain't going to really play war rocking sparkley nails)

Colors used for green camouflage are (front lightest to darkest):
Butter London - Bossy Boots (green) - base
OPI: Jade is the New Black (green)
OPI: Cuckoo for this Color (green)
OPI: Wooden Shoe Like to Know (brown)
OPI: Tickle Me France-y (pale brown)
China Glaze: Liquid Leather (black)

Colors used for white camouflage are (front lightest to darkest): 
OPI: Alpine Snow (white)
OPI: Moon Over Mumbia (greyish white)
OPI: Skull & Glossbones (greyish white)
China Glaze: Recycle (grey)
China Glaze: Liquid Leather (black)

I used the lightest color as my base. Using the dotting tool I did a free for all splatter like pattern because camouflage is supposed to reflect messy, dirty, decaying animals and leaves in nature so just glop it free style!


I repeated it with the next darker shade and the next darker shade until I only had black left. In the same fashion without care splotted it until it was one hodge podge of camouflage mess.  TA DA!!! perfection in imperfectioness!!!


After letting it dry I applied two coats of Essie's 'Matte About You' to make it look more rugged ... this is one chip worthy nail art I am looking forward to!


Time to find myself a ghillie suit and start learning how to army crawl if I want to be next to hottie Mark Wahlberg in The Shooter.


Tuesday, February 5, 2013

In hot water

A woman is like a tea bag, you can not tell how strong she is until you put her in hot water.
- Nancy Reagan