
I suppose it is okay if the animal is not fighting it and actually enjoys strutting around decked out.
My friends Shelley and Shameer are getting married next summer! YAY!!! They have a pug named Rugby and I am sure he is going to be part of the wedding so I made him a doggie bow tie just cus!

Plus 10 bjillion points for being handsome cute!!!
The collar you are about to make is not a one size fits ALL dogs. Each collar should be tailored to the dog's neck.
This tutorial is for an adjustable doggie bow tie but I will let you know which step to skip to make a non adjustable one. The reason I chose to do an adjustable bow tie is because some dogs are super fluff and super non fluff after grooming.
The cost for the above bow tie was about $3.50. The cheapest one I could find online was on sale for about $5.00 not including shipping.
The bow tie was all hand sewn because I was too lazy to haul out the sewing machine.
What you will need:
- needle and thread
Picture below (each component is about $1.00) - and a meter of ribbon with the same thickness as the clip openings (ribbon ranges from $1.00 to $2.00 per meter) the ribbon and clasp I got are 25mm
I said a meter of ribbon is because that is the minimum you must purchase from a fabric store.

The above clip is called a 'Parachute clip' who knew right?! and the thing on the left ... I still don't know what its called but it secures straps when it needs to be adjusted. If you have decided not to make an adjustable collar you won't need to purchase the component in the left in the above photo.
Step One: Bow making time!
Cut an 8 inch piece of ribbon from the meter. Place the two ends of the 8 inch ribbon into the center and loosely sew it then gather the thread to scrunch it up. Then wrap and tie the thread around the center a few times to create a bow shape.


Now cut 3 inches of the ribbon. Wrap and sew it around the center of the bow to give it a bow tie finished look!


Step Two: Collar time!
Measure the dog's neck with the ribbon and add at least 4 inches (allow slack to sew the ribbon ends).
More than 4 inches will be required if you wish to make an adjustable collar, this is very dependent on the dog. When they are the least furriest and most furriest, so use your judgement because only you know your dog best!

Thread one end of the ribbon into the component (the right one in the above photo). Roll and sew the end of the ribbon so the lose end is not exposed.


If you wish to make a collar that is NOT adjustable all you have to do is sew the other end of the ribbon onto the clip. Then sew the bow onto the center of the collar! DONE! ... if not continue for the hardship of an adjustable collar!

Thread the lose end of the ribbon into the component as per photo below. Try to maintain all the parts like the above photo so you know which is the inside and outside of the collar.


Now be ready to thread the ribbon BACK into and UNDERNEATH the adjustable component.


Roll and sew the end of the ribbon so the lose end is not exposed.

YES, it was hard but now think. You can sew an adjustable belt for ANYTHING!
Step Three: Sew on the Bow!
Center the collar and sew on the bow!


This is truffle season, Tom Ford tuxedos for no reason. - JT & Jay Z
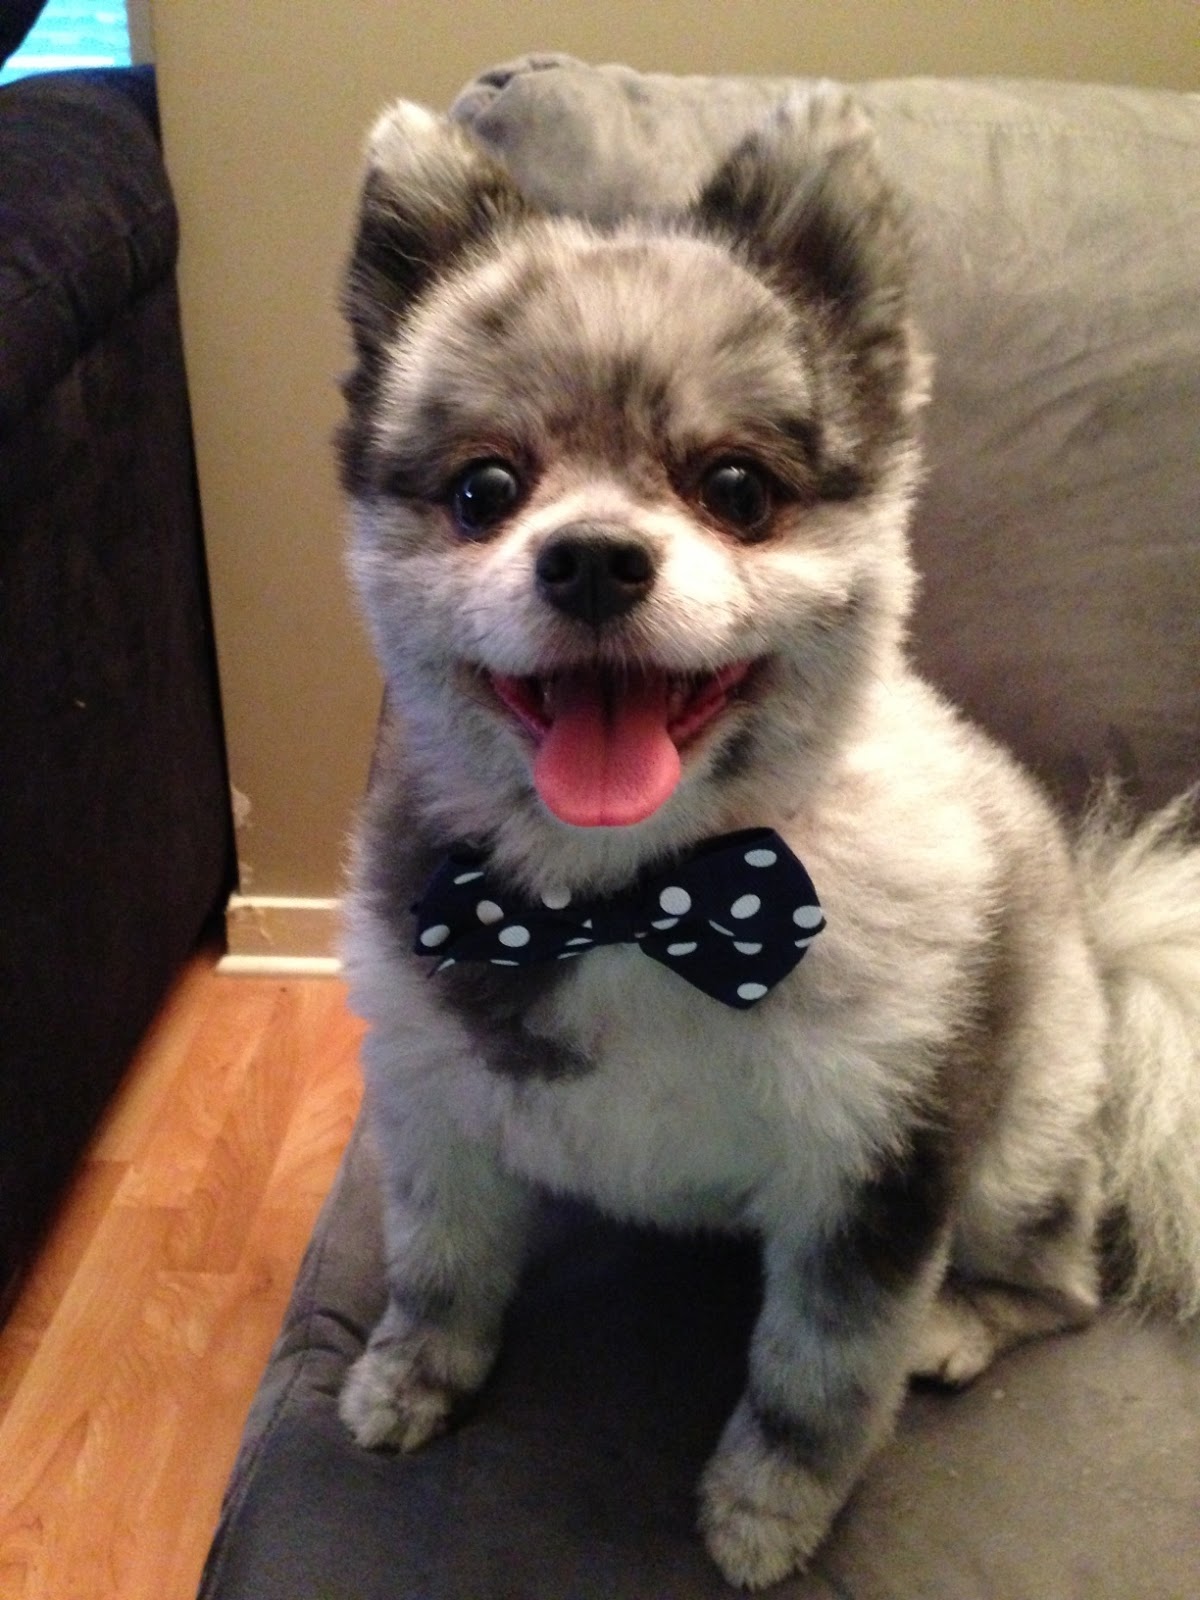
I also have another model his name is Smokey the Pomeranian!
No comments:
Post a Comment