Saturday, June 22, 2013

DIY Rhinestone Wrap Bracelet

Here is a really easy but fancy looking bracelet tutorial!!!

What you need:

- embroidery thread
- strip of satin cord, suede or leather of your choice (this is going to be the base of the bracelet so get TWICE the length of the wrist plus 3 inches) 
- ruler
- wire cutter
- scissors
- needle (eye must be big enough for embroidery floss to go through)
- chain of rhinestones - do not cut until the end of your project (can be purchased by the foot at Country Beads or from eBay)
ALTERNATIVE OPTION: instead of using rhinestones you can opt for ball chain 


Step One: Starting up! 

Cut the embroidery thread to 3 times the length of the silk cord. Fold both pieces of string in half. Using the halfway point of the embroidery thread tie two knots on the silk cord like below. This will be one end of the 'clasp' for the bracelet, so make the hole big enough for the knotted end to fit in. But not too big that the knot will fall out.


Step Two: Wrapping Time!


Hold the two ends of the silk cord together and wrap the chain of rhinestones on top with the embroidery thread. I wrapped the embroidery thread twice around each gap of the rhinestone chain. Keep on wrapping until your desired length.


Step Three: Finishing off

For the last gap of the rhinestones tie 2 knots around it instead of wrapping. Its time for the big needle! Using the 2 ends of the embroidery thread, thread it through a few loops on the underside of the bracelet then cut to ensure no lose ends.


Step Four:
Tie a knot at the end and cut the remainder off.


Viola! Done like dinner!!!


Optional: nail polish! if the rhinestones are too BLING for you, paint them over with nail polish!

Monday, June 10, 2013

DIY Guns and Roses Clutch

The idea for this tutorial all started when I wanted to upcycle one of my old designer handbags by painting it. However, I am sitting on the fence with that idea and I needed some practice. While I was in Hong Kong I came across some envelop clutches and thought they would be great for a practice run!
Once I got the clutches I had no idea what I wanted to paint then BAM I got inspired by an image on Instagram. I mixed that idea from Instagram with a touch of graffiti and tattoo vibe along with the song called 'Guns and Roses' by T.I featuring P!nk. aaaaaaaaand viola!    


This is a great way to customize canvas, vinyl and even leather bags.

What you will need: 
- canvas (a bag of your choice)
- photo of something you want and/or stencil 
- Exact o knife
- tape
- white acrylic paint *MUST* acts as a primer/base
- acrylic paint and/ or nail polish (of the colors you want)
- paint brushes
- makeup sponge
- paper towel
- cotton swabs
- Exact o knife
- tape
- nail polish top coat

Step one: Prep

I went onto the internet and found a picture of a Walther PPK ... James Bond's gun of choice. Printed it out and used an Exact o knife to cut it out. This is making my stencil for the gun silhouette.


Step Two: TAPE

Ensure to tape all the edges of the stencil really firm and secure to your canvas so it won't slip and slide when you are painting.


Step Three: Time to Prime and Paint!

Prime is setting a base for your painting. Because the bag I chose is black anything I paint on top of it will not show up as its true color. By priming the area where I am going to paint with white it is going to allow the painting to show.

Blob a little bit of white acrylic paint onto the makeup sponge and dab the excess off onto a paper towel. The amount of paint you want on the sponge is just a little bit, to allow you to build up the color.


Dab and swipe away from the edges of the stencil instead of towards it. This way it ensure no paint will get underneath the stencil and the shape you will get is more defined.


 Now you have a silhouette of the shape you want! It looks pretty badass right now and can be left like so but I wanted to paint something within. If you are going to leave off at this stage use a fine paint brush and some white paint to touch up the edges of the image.

The internet is an abundance of images. Just go to Google and image search "_____ stencil" and you will have a bjillion photos to choose from.

Using the same stenciling and sponging technique as mentioned about, I stenciled roses onto the silhouette. If you color outside of your silhouette ensure to wipe the edges off with a wet cotton swab before the paint dries. Once you are done use a fine paint brush and white paint to touch up the edges of the image.  


Step Four: Time to seal the deal

Using some nail polish top coat gently paint over the piece of art to seal it in preventing it from being scratched. Ensure to just dab it gently because nail polish top coat can smudge acrylic paint even if it is dry. Wood varnish also works buuuuuut I'm a nail polish kind of girl.

Saturday, June 8, 2013

Orthodontics ... braces braces braces

Many of you might not know that I am a 26 year old with braces. When I was a child my younger brother and I went for orthodontic consultations. When the orthodontist said it was optional for me I opted no. My parents didn't push any further because they were all ready spending a fortune on my brother's set of teeth. So, I told myself if I ever wanted them down the road I will make my own money and pay for them myself.

In the year 2011 I was fortunate enough to be hired as a permanent in a company that has great health and dental benefit coverage. Which meant a portion of my orthodontic fees would be paid for. The year 2011 was also the first year where I started making new year's resolutions and getting braces was one of them.

That summer my friend from Edmonton came back to Vancouver for a visit. She called me and a lot of her university friends out for bubble tea. There was one fellow there that recently got braces and I was intrigued! He was also my age and it turns out he worked at the orthodontic office. So the ball started rolling! I asked him for the office number and a few weeks later I scheduled myself for a consultation.

I was super excited to go in for the x-rays and photos and everything! Then I got to talk to the orthodontist and she gave me news that I was not prepared to hear. I never thought my teeth were THAT bad. My front top right tooth was wonky but I thought everything else was fine. She gave me two options. One was to keep all my teeth but I might look like a cave woman afterwards because my bite might be off. Option two was to extract 4 teeth, obviously this was the BEST option. I told her I had to go home and think about it because I was not expecting any teeth espeically 4 teeth to be pulled out.


That afternoon I talked to my mom and she looked me in the face and said it is only 4 teeth. She was right, so right. Then I made the appointment with a specialist to get my teeth pulled out.

I was on the verge of vomiting and having diarrhea at the same time when my friend was driving me to the dental specialist. I did not want my teeth pulled out. No. Asked the receptionist how long it would take and she said 15 minutes. When I got into the room I started sweating profusely. My hands were soaking wet. My hands never sweat. I was in the dental chair rubbing my palms on my lap. My jeans were soaking wet. The last tooth won't budge and the specialist had to put his palm on my forehead for leverage. After each tooth I would do the OK sign with my hand and use my fingers to show how many more to go. It was awful. But it was over with in 15 minutes. 

Turns out the reason why they suggest 2 sessions to get 4 teeth pulled out is so the person can eat. What usually happens is they pull 2 teeth from the left at one sitting so while you recover you can use your right side to eat and vice versa. I could not spare so many days off work so I made them pull all 4 teeth at once. I opted for local anesthesia and I was numb up to my eyebrows for a whole day. I couldn't eat properly for weeks. I looked like a hill billy with missing teeth.


The way I ate was the super unhealthiest way EVER. Because I couldn't chew properly and was in pain. I would eat a little bit of food. Drank lots of vitamin water, supplemented by Boost and because I lacked nutrients I was tired all the time so I loaded up on Red Bull. I know, it was BAD! 

A month after they placed the braces on. It was all fine and dandy during the day but OMG!!!! That evening was the WORSE! THE WORSE! That evening I went out for a friend's birthday dinner and all I ate was watered down rice and tofu. While they ate Japanese charcoal grilled meats on sticks. All my life I never had headaches but now I have migraines and tension head aches, only for a day or two after each monthly adjustment though. While the gaps were closing in instead of looking like a hill billy I looked like a nerdy hill billy.

This photo was taken right after I got the braces placed in.

Ensure to wear your rubber bands ALL the time and brush and floss properly. They say no to eating hard crunchy foods, chew gum, eat gummy candy. Bad again, I do it all. However, I do find that the older you are and knowing you have to spend a pretty penny on them you are more responsible and diligent in wearing the rubber bands and flossing properly.

This was taken a few days ago during one of my monthly adjustment appointments. 

They quoted me 2.5 years and I have about 10 months left. I have noticed the shape of my face and jaw has changed, for the better! :D yeah cheek bones! People keep on saying it will be worth it in the end. I suppose so. I did it for the sake of keeping the promise I made to the 10 year old self me, my new year's resolution and especially to what my mother had said to me almost 2 years ago.

A promise is a promise! including new year resolutions!

 Yeahup I thought about being her for Halloween before.

Sunday, June 2, 2013

DIY Doggie Bow Tie

It is super melting hotness when a man is all decked out and GQ 007 Bond but you cannot forget man's best friend! However, I feel really, really, really bad for animals that get dressed up. To me it is almost a form of animal cruelty. In the movie 'The Recruit' with Colin Farrell, there is one part where he was asked, "Have you ever been deliberatly cruel to an animal? He answered yes and said, "For Christmas, I tied wool reindeer horns to my dog's head".

I suppose it is okay if the animal is not fighting it and actually enjoys strutting around decked out.

My friends Shelley and Shameer are getting married next summer! YAY!!! They have a pug named Rugby and I am sure he is going to be part of the wedding so I made him a doggie bow tie just cus!


Plus 10 bjillion points for being handsome cute!!!

The collar you are about to make is not a one size fits ALL dogs. Each collar should be tailored to the dog's neck. 

This tutorial is for an adjustable doggie bow tie but I will let you know which step to skip to make a non adjustable one. The reason I chose to do an adjustable bow tie is because some dogs are super fluff and super non fluff after grooming.

The cost for the above bow tie was about $3.50. The cheapest one I could find online was on sale for about $5.00 not including shipping.

The bow tie was all hand sewn because I was too lazy to haul out the sewing machine. 

What you will need:

- needle and thread
Picture below (each component is about $1.00) - and a meter of ribbon with the same thickness as the clip openings (ribbon ranges from $1.00 to $2.00 per meter) the ribbon and clasp I got are 25mm

I said a meter of ribbon is because that is the minimum you must purchase from a fabric store. 


The above clip is called a 'Parachute clip' who knew right?! and the thing on the left ... I still don't know what its called but it secures straps when it needs to be adjusted. If you have decided not to make an adjustable collar you won't need to purchase the component in the left in the above photo.

Step One: Bow making time! 
Cut an 8 inch piece of ribbon from the meter. Place the two ends of the 8 inch ribbon into the center and loosely sew it then gather the thread to scrunch it up. Then wrap and tie the thread around the center a few times to create a bow shape.


Now cut 3 inches of the ribbon. Wrap and sew it around the center of the bow to give it a bow tie finished look!


Step Two: Collar time!
Measure the dog's neck with the ribbon and add at least 4 inches (allow slack to sew the ribbon ends). 

More than 4 inches will be required if you wish to make an adjustable collar, this is very dependent on the dog. When they are the least furriest and most furriest, so use your judgement because only you know your dog best!


Thread one end of the ribbon into the component (the right one in the above photo). Roll and sew the end of the ribbon so the lose end is not exposed.


If you wish to make a collar that is NOT adjustable all you have to do is sew the other end of the ribbon onto the clip. Then sew the bow onto the center of the collar! DONE! ... if not continue for the hardship of an adjustable collar! 


Thread the lose end of the ribbon into the component as per photo below. Try to maintain all the parts like the above photo so you know which is the inside and outside of the collar.


Now be ready to thread the ribbon BACK into and UNDERNEATH the adjustable component.


Roll and sew the end of the ribbon so the lose end is not exposed.


YES, it was hard but now think. You can sew an adjustable belt for ANYTHING!

Step Three: Sew on the Bow! 
Center the collar and sew on the bow!

 Viola! you are done!


This is truffle season, Tom Ford tuxedos for no reason. - JT & Jay Z

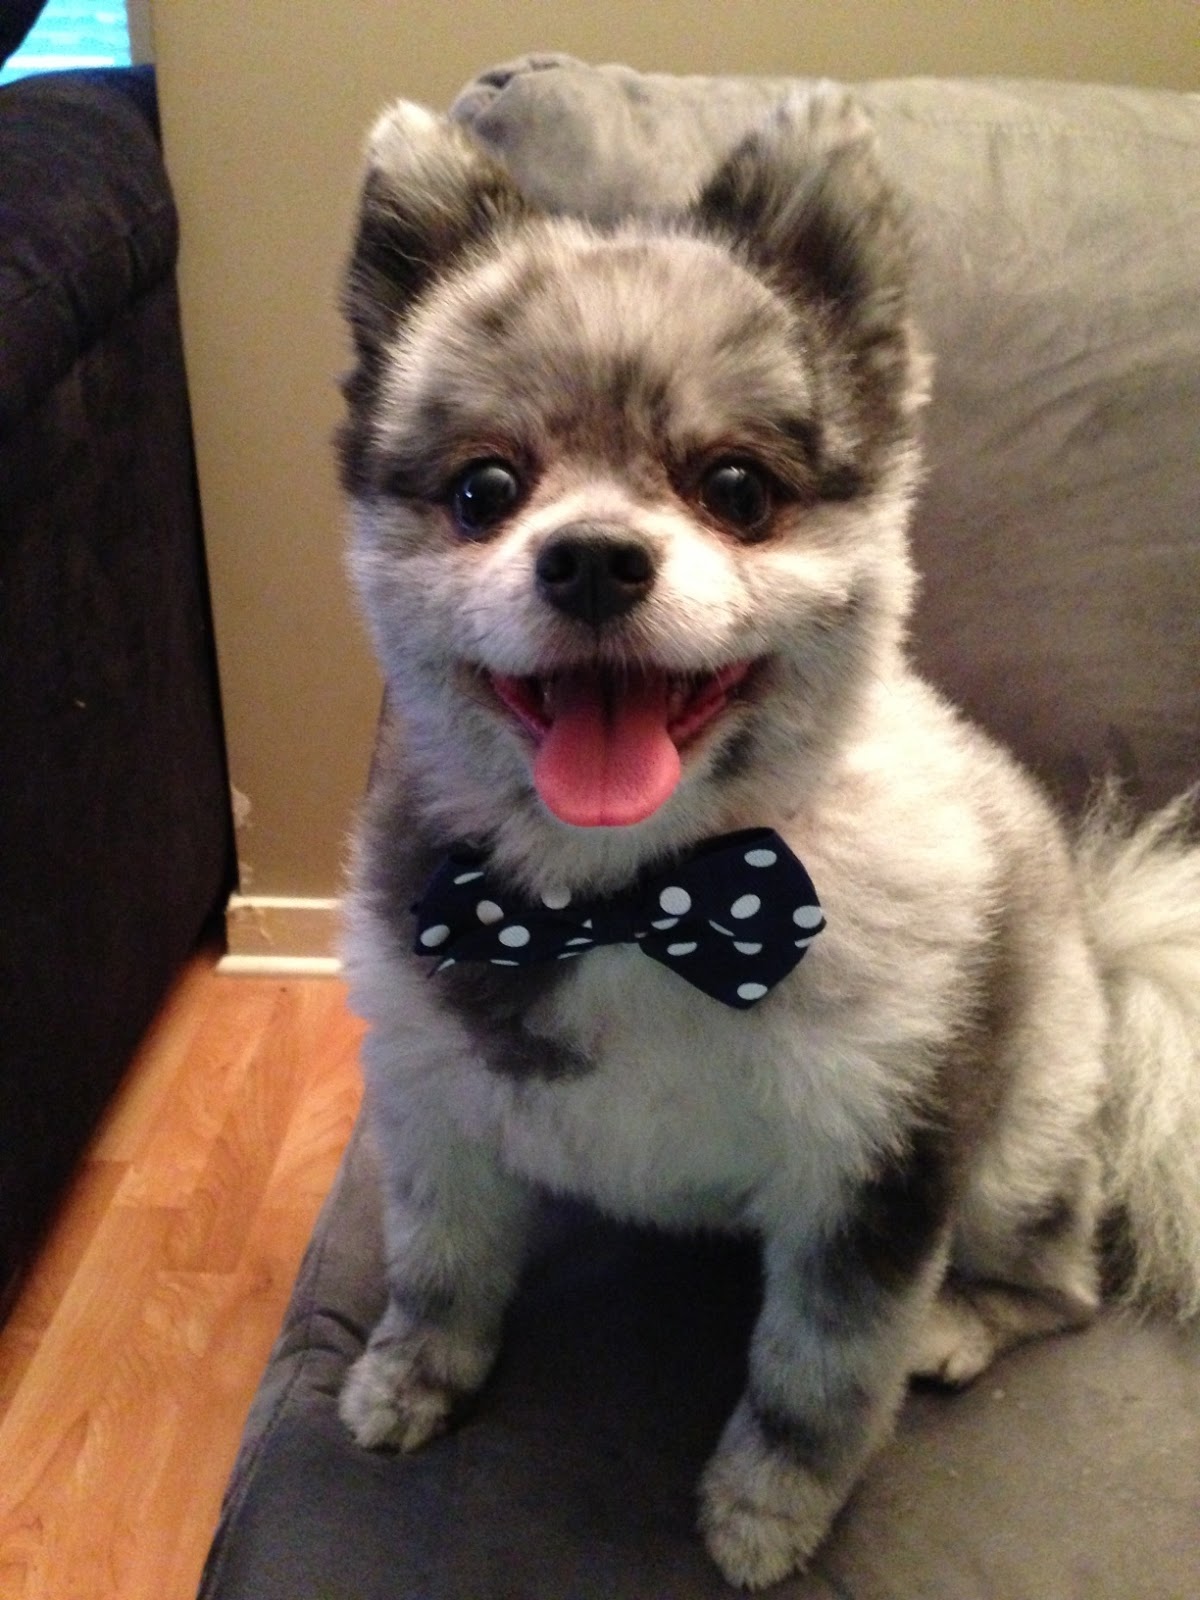
I also have another model his name is Smokey the Pomeranian!


Friday, May 31, 2013

I'm back I'm back I'm back!!!

My trip to Asia was a world wind! I went to Taipei, Seoul and Hong Kong. Flying 6 times especially with two 13 hour flights, it took me a while to get my bearings when I got home.

I was in Taipei for a weekend getaway and the main purpose was to eat their street food and street meat! I never new Taipei was known for their street food, they put other cities and countries to shame.

I did do my nails prior to leaving Vancouver thinking I will get a blinged out Asian manicure while I am away. Let's just say it did not pan out as I thought it would. My friend and I were exhausted from a day filled with shopping and eating so we decided to go get a manicure. Mind you, this was about 10:30PM. We were in a pretty bumpin part of town near our hotel. However, I did not recall ever seeing a tattoo shop or a body piercing place. Hummers parked on street corners in Asia. So gangster. Regardless, we finally saw a nail salon that was open!!! We practically ran in because we wanted someplace to sit and get pampered. Boy oh boy were we in for a surprise. This two seater place also had a bed in there for girls to get eye lash extensions ... in the open. We sat down and we knew it was a mistake. The vibe from the place seemed like they catered to a specific type of late night career woman. Then the girl doing my nails started FILING off the polish instead of using nail polish remover. I almost cried. Because they only spoke Mandarin, I was in no luck. I was locked in for the rest of the ride. Turns out the polish was Shellac-ish. I had the worse time getting it off when I got home and my nail underneath was scratched up :(

So ladies, don't go to some random hole in the wall at around 11 in the night to get a manicure. Wait until daylight when you are well rested and level headed.

I thought I would score lots of cute DIY knick knacks while I was in Korea. But no such luck and no such time. However, while I was in Hong Kong my BFF Vivian took me to the fabric district. I was in HEAVEN. It was basically blocks of stores selling fabric, trims, beads, buttons, bindings, findings, crafting goods ... just EVERYTHING!!! This area is called Sham Shu Po in Kowloon.

One of my favorite places in that area is Accessory Republic Company Ltd. Not only was their selection HUGE but their prices were so CHEAP (to the eyes of a Canadian crafter that is). The ladies working there were more than helpful! If you have a project in mind they will let you know exactly where each component is and would give you detailed tips and tricks as well. Let's just say these ladies know their stuff and around the neighborhood too. If they didn't carry something they will direct you to a shop nearby.

All in all it was a good trip! I didn't leave my heart in any city but I did leave one of my best friends in Hong Kong. Technically, I didn't leave her there, she moved there hahaha. Vivian, I was glad I got to be with you 24/7 for a couple of weeks until the next time I see you! 

Monday, May 13, 2013

SPECIAL GUEST POST!! :)

Hello cee.kwan readers!! *waves*

While cee.kwan is off getting Asianized, I volunteered to do a guest post on her blog. However, like most things in my life...I procrastinated. At first I was super gung-ho to do a tutorial on Canucks inspired nails merging my two obsessions in life together...but Vancouver, I'm sure you know how that panned out this season :( Next year....


Regardless, I still get to indulge myself in nail polish just minus the Canucks, at least until September when preseason starts. Back to nail polish...I have a ton...and I do mean a TON...no joke. But I occasionally get asked...well, doesn't some of it dry out? The answer simply put is yes. There are ways to prevent this like making sure the rims are always clean, but I understand how that isn't a priority sometimes especially when your freshly polished nails are drying. To me, there are three things I do with dried out or slightly dried out nail polish:

1. throw it out
2. use nail polish thinner  **if you choose this option don't shake to mix it. I can't stress it enough how bad it is for nail polish to be shaken! Roll the bottle in your hands or hold onto the shaft and roll it out if it's not palm friendly. Shaking nail polish creates bubbles and sometimes it can dry out your polish even more. I see people shaking polish all the time and I think a bit of me dies each time...CRINGE CRINGE CRINGE!!
3. Designs!! :D

Semi dried nail polish is great for nail plates, but I also like to make little thin abstractesque lines with them, especially when a lot of different colours are used on a neutral base. I'm feeling lazy so I will only use one colour, but hopefully you get the point. So what am I trying to achieve? This:


How do I get this?

STEP ONE: plop some nail polish on a surface. I like doing this on my nail plates. Just a reminder this also works with fresh nail polish too, but it'll just take slightly longer.


STEP TWO: Using a dotting tool or a bobby pin start jabbing at the nail polish lifting it off the surface until the polish is stringy. Remember how I mentioned fresh polish will take longer? This is what I meant by that...it'll just take a bit more time for the polish to become aerated. 


STEP THREE: Once you have it at a nice stringy consistency, drape the little strands over your nailbed from both sides. The closer you do it to the nail polish blob the thicker lines you'll get...similar the cheese on pizza when you pull away. 


STEP FOUR: Clean up the edges and voila! (see above)

Ok this was fun!! I'll post again the next time cee.kwan is on vacay, though it might be avec moi! :D
....provided she lets me that is!


- smallberries